The first step in the home brew gin making process is the creation of a sugar wash.
Water + sugar + yeast = alcohol.
That's the basic science of the sugar wash. To make safe smooth neutral spirit we use brewing sugar and specialty turbo spirit yeast. The water is simply tap water, filter the water if you like but normal drinking water from the tap is fine.
Making a Sugar Wash:
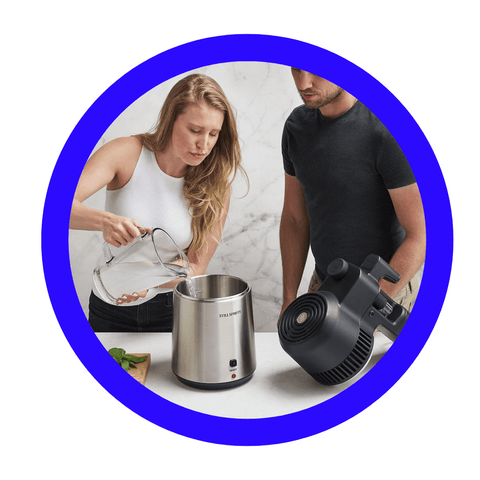
- First, clean and sanitise your fermenter and mixing spoon.
- Add 7.5 L of water at approximately 30°C (luke warm) to your fermenter.
- Add 2.4 kg of turbo sugar to the water and stir until dissolved. You should now have approximately 9 L of sugar wash ready for fermentation.
- Add the yeast compnent of the Air Still Fermentation Kit as per directions on its pack, then gently massage the Turbo Carbon sachet and then add to stir well.
- Leave this to ferment at room temperature - approx. 18-24°C for 7 days or until the wash has stopped bubbling.
- On Day 7, confirm fermentation is complete and test the wash with a hydrometer. The wash has completed fermentation when the Specific Gravity (SG) reading is below 990 and stable for 2 consecutive days.
- Once the SG is stable, clear your wash. First, stir vigorously to remove all gases. Once degassed, add Turbo Clear Part A. Stir well then stand for 1 hour.
- Next add Turbo Clear Part B whilst stirring. Stop stirring as soon as all of Part B has been added. You must stir very gently, otherwise you will disrupt the clearing process. Stand for 24 hours then carefully remove clear wash for distilling.
- You will end up with approx. 8 L of purified wash ready for distilling.
Next come the fun part!.... distilling
Spirit Run in Reflux Mode
Please ensure you have followed the Air Still Pro Quick Start Guide cleaning instructions prior to commencing your distillation. You are now ready to distill in reflux mode:
- Once settled, the wash is ready for distillation. Pour or siphon 4 L of the wash into your clean Air Still Pro boiler, taking care to leave behind any sediment.
- Add the Ceramic Boil Enhancers and 1 capful Distilling Conditioner to the boiler.
- Fit your reflux distillation tip labelled “R”. (To loosen the tip, turn clockwise using the spanner included. To tighten the tip, turn anticlockwise using fingers only until firm.)
- Check that your foreshots collection vial is fitted securely.
- Place a collection jar under the distillation tip. We recommend at least an 800 ml (27 US fl oz) vessel.
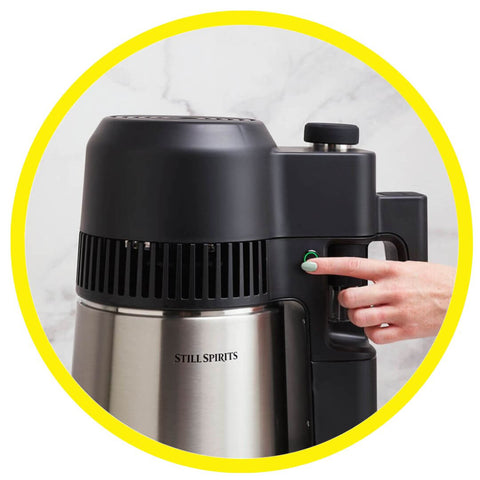
- Press the mode selector button once to enter standby mode. The button light will glow white.
- Push the mode selector button again and release when the button glows green. A pulsing green light and 1 beep will confirm that your reflux mode run has begun.
-
- Allow the Air Still Pro to run until you've collected 500 ml (17 US fl oz).
- Let the Air Still Pro cool for at least 20 minutes then remove the Air Still Pro head unit from the boiler, empty the boiler and dispose of the foreshots in the collection vial (do not consume). Rinse and clean your Air Still Pro after use.
- Check the ABV of your spirit with an alcometer and measuring cylinder. It should be approximately 90% ABV (180 proof). Dilute to 40% ABV (80 proof) by adding approximately 600 ml of water. Use this calculator to get the precise volume of water to add.
- You may wish to filter your diluted spirit through a carbon filter to polish it. Filtering your spirit will give you a smoother, well-rounded gin and contributes to a better final product. While polishing your spirit, you can distill the second batch of wash, or the remaining wash can be kept in an airtight container for up to a week.
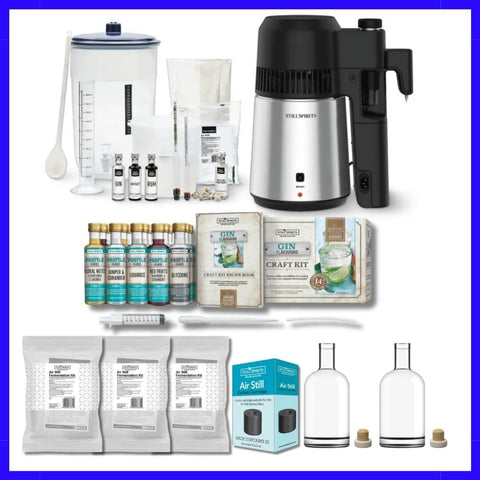
All that is left to be done is to use the Gin Craft Kit to add variuos botanicals and flavour profiles to you neautral spirit exactly to your taste.
Get your kit here